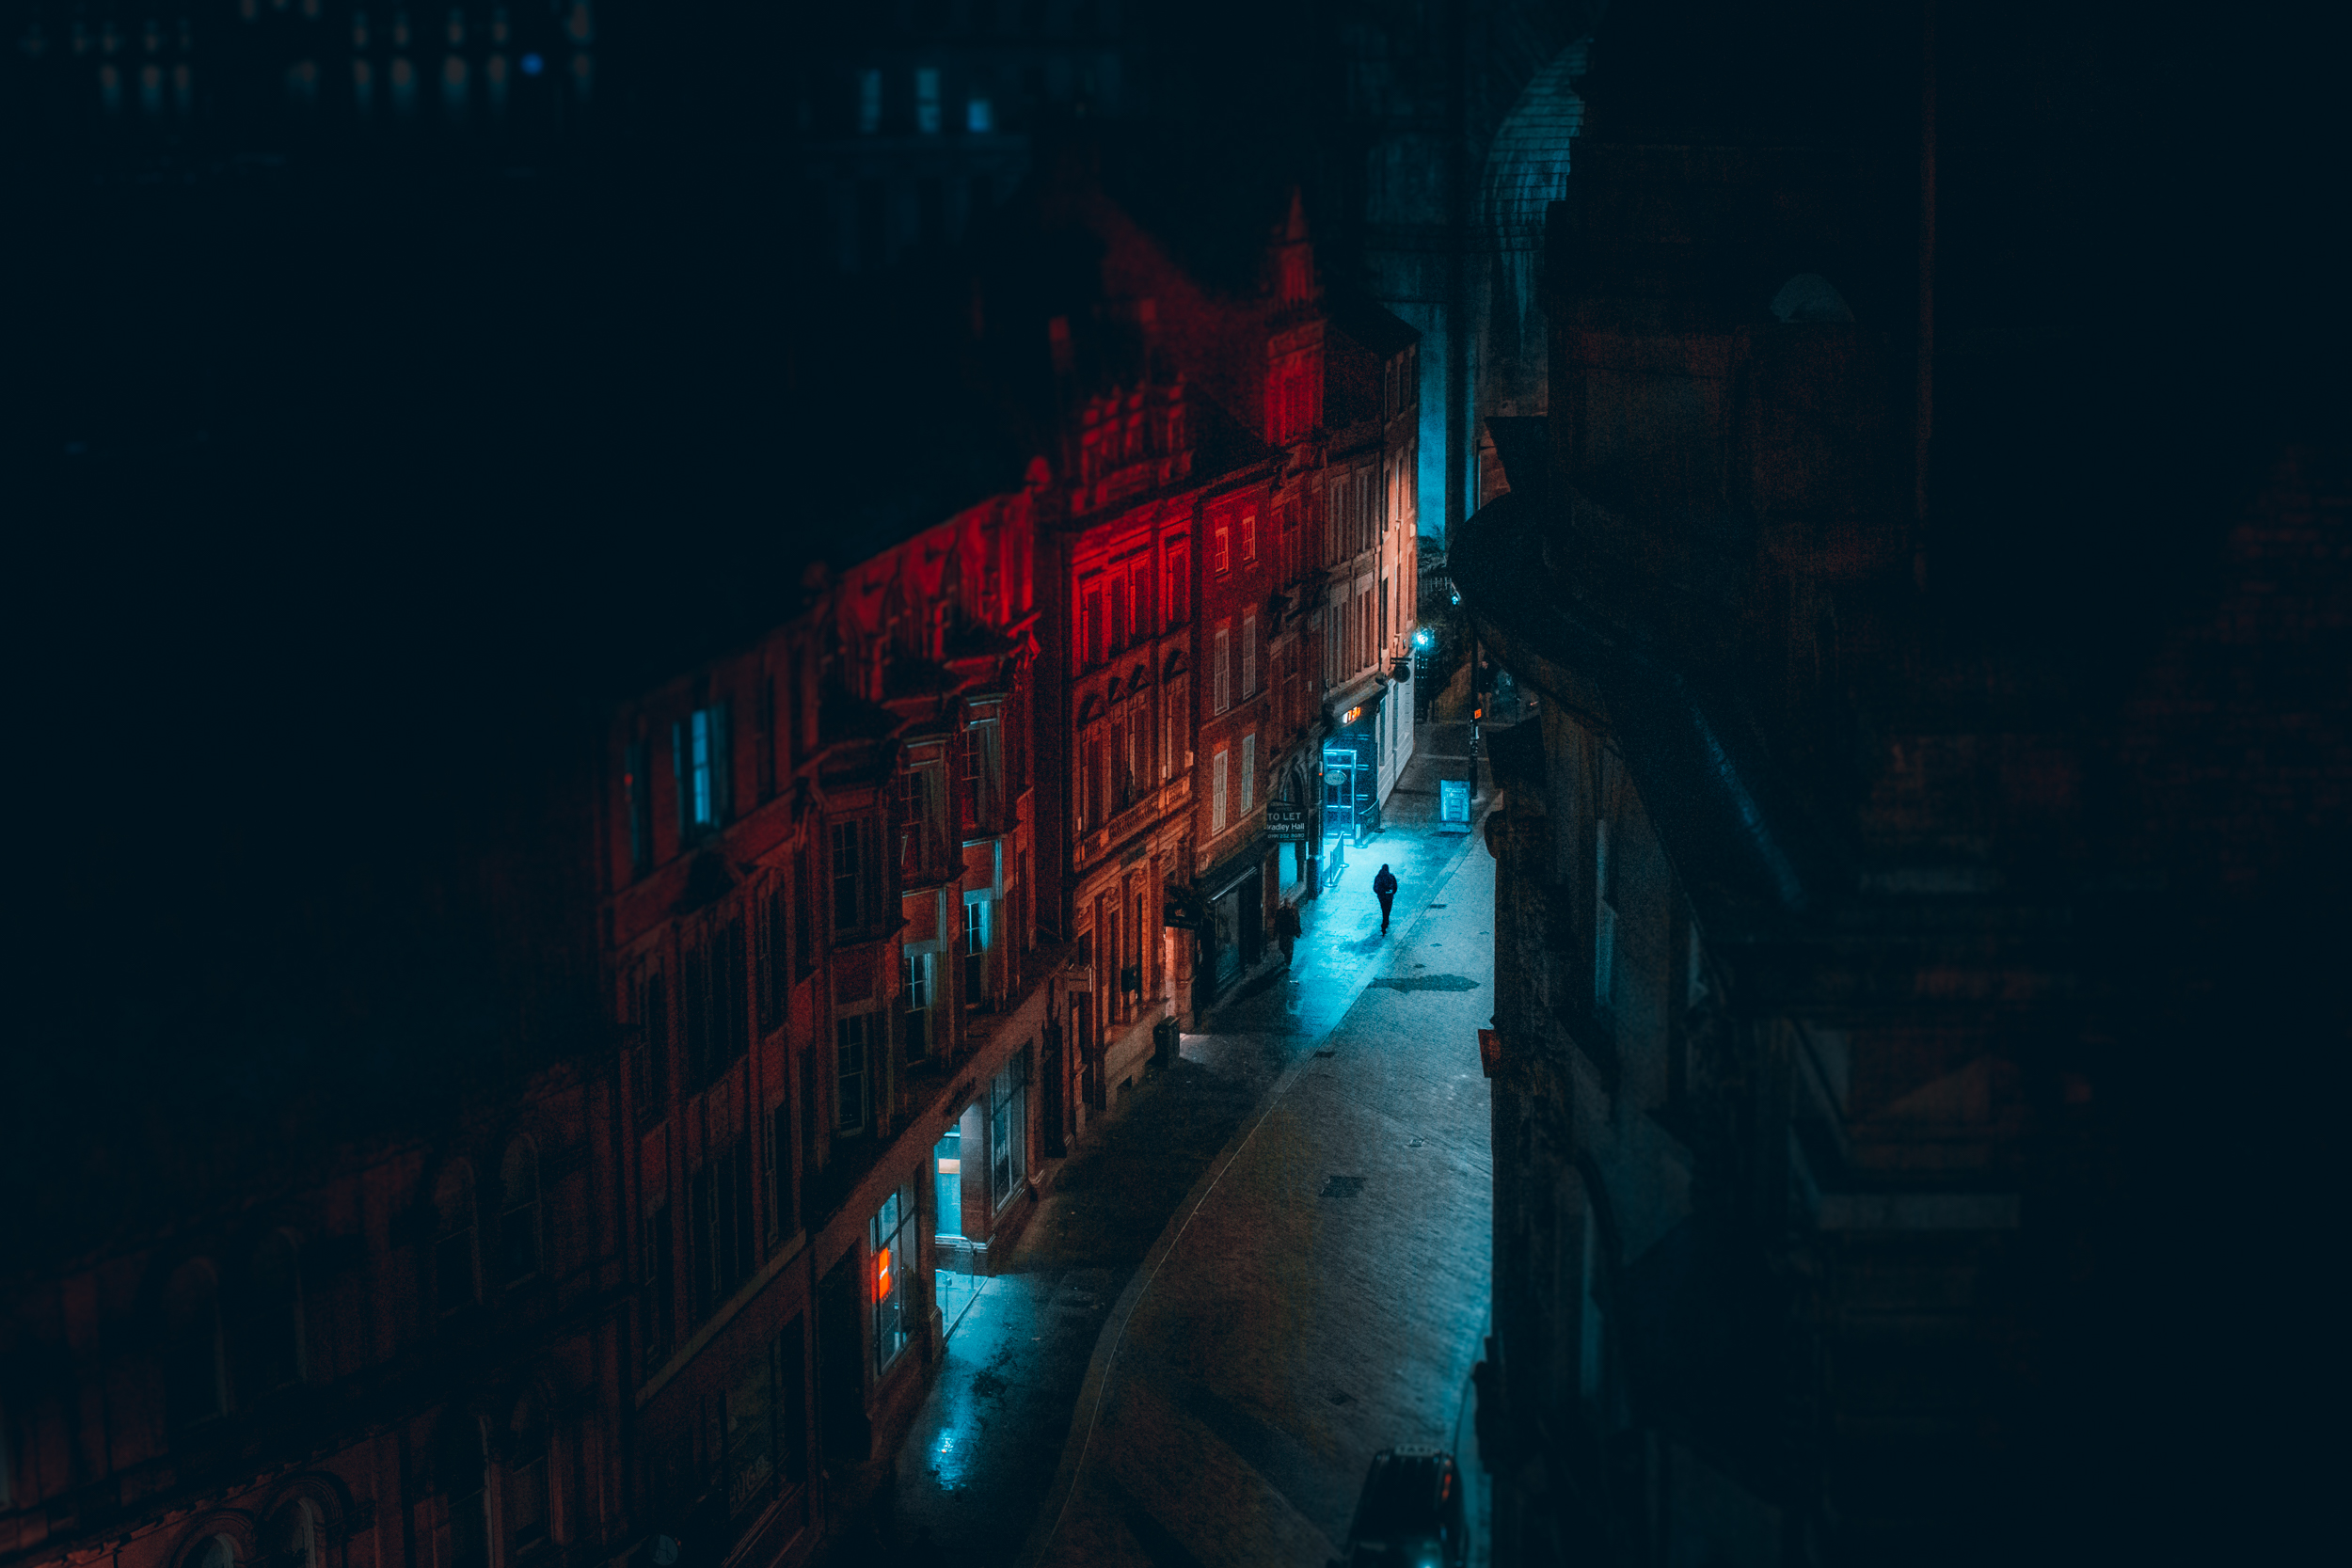
A Beginners Guide to Portraits at Night in the City
Title: Unveiling the Soul: A Beginner’s Guide to Capturing City Portraits at Night
Introduction:
As a beginner photographer, the allure of capturing city portraits at night can be both exciting and daunting. The urban landscape transforms under the glow of city lights, offering a unique backdrop for stunning portraits. However, shooting portraits at night requires a different approach due to the limited available light and the need to create a captivating ambiance. In this guide, we will delve into essential tips and techniques to help you navigate the challenges of capturing city portraits at night and create compelling images that reveal the soul of both the subject and the city.
- Understanding Light and Location
a. City Lights as Background: Utilize the vibrant city lights as a striking backdrop for your portraits. Look for interesting compositions with illuminated buildings, bridges, or urban landmarks.
b. Ambient Light Sources: Take note of ambient light sources, such as streetlights, neon signs, or shop displays, and consider how they can enhance the atmosphere and mood of your portraits.
c. Golden Hour and Blue Hour: The transitional periods before sunrise and after sunset, known as the golden hour and blue hour, offer magical lighting conditions for portraits. Utilize the warm, soft light during these times to add depth and warmth to your images.
d. Natural Reflectors: Look for natural reflectors in the city environment, such as glass facades or wet pavements, which can bounce and diffuse light onto your subjects, creating a flattering glow.
- Essential Gear and Camera Settings:
a. Fast Lens: Invest in a lens with a wide aperture (low f-number) to allow more light to enter the camera, enabling you to shoot in low-light conditions. Prime lenses, such as 50mm or 85mm, are popular choices for portraits.
b. Tripod or Image Stabilization: Since night photography often requires longer exposures, using a tripod or a camera with effective image stabilization will help maintain sharpness in your images.
c. Aperture and ISO: Set your aperture wide open (low f-number) to maximize the amount of light reaching the camera sensor. Adjust the ISO to achieve a balance between image quality and noise. Experiment with different settings to find the optimal balance for your specific conditions.
d. Shutter Speed: When photographing portraits at night, be mindful of your shutter speed to avoid camera shake or motion blur. Consider using a faster shutter speed or a tripod to ensure sharpness in your images.
- Posing and Directing Subjects
a. Communication and Connection: Establish a rapport with your subjects and communicate your vision. Make them feel comfortable and guide them through the process, allowing their authentic expressions and emotions to shine through.
b. Experiment with Different Poses: Encourage your subjects to try various poses and expressions to capture a range of emotions. Play with body language, gestures, and natural movement to add dynamism to your portraits.
c. Utilize the Urban Environment: Incorporate elements of the cityscape into your portraits to enhance the storytelling aspect. Use architectural features, street art, or iconic city landmarks as creative elements that interact with your subjects.
d. Candid Moments: Capture candid moments that reflect the essence of city life. Encourage your subjects to interact naturally with the urban environment, whether it’s walking down a bustling street or enjoying a moment of solitude against the city backdrop.
- Working with Available Light and Artificial Lighting
a. Available Light: Make the most of the available light sources in the city environment. Utilize streetlights, window displays, or neon signs to create unique and atmospheric lighting conditions for your portraits.
b. Light Painting: Experiment with light painting techniques to add a touch of creativity to your images. Use a handheld light source or flashlight to selectively illuminate specific areas or features of your subject.
c. External Lighting: Consider using external lighting equipment, such as speedlights or continuous LED lights, to add more control and fill in shadows. These tools can help you achieve a well-balanced exposure and create dramatic effects.
d. Light Modifiers: Employ light modifiers, such as diffusers or reflectors, to soften harsh light or redirect and enhance the available light. These accessories can help you shape the lighting to flatter your subjects and create a desired mood.
- Post-Processing and Editing
a. RAW Format: Shoot in RAW format to retain maximum flexibility during post-processing. RAW files contain more information and allow for more significant adjustments without sacrificing image quality.
b. Exposure and White Balance: Fine-tune the exposure and white balance in post-processing to achieve the desired look and mood. Adjust the brightness, contrast, and color temperature to enhance the atmosphere of your portraits.
c. Retouching and Enhancements: Use photo editing software to retouch and enhance your portraits selectively. Pay attention to details such as skin tone, blemishes, and distractions in the background. However, strive to maintain a natural and authentic look.
d. Experiment with Styles: Explore different editing styles to add a unique touch to your city portraits. Experiment with black and white conversions, color grading, or toning to enhance the mood and visual impact of your images.
Conclusion:
Capturing city portraits at night as a beginner photographer is an exhilarating journey that allows you to explore the interplay between subjects and the urban environment under the enchanting city lights. By understanding the importance of light, utilizing appropriate gear and camera settings, directing and posing your subjects effectively, and embracing available and artificial lighting, you can create captivating portraits that showcase the soul of both your subjects and the city. Remember to experiment, be patient, and continue to develop your skills and style as you embark on this exciting photographic endeavor.

Conclusion
Q1: What is the best time of day to capture portrait photos in a city?
The golden hour, which occurs during the first hour after sunrise or the last hour before sunset, is often considered the best time to capture portrait photos in a city. The soft, warm light during this time creates a flattering and atmospheric look. However, you can also experiment with different lighting conditions throughout the day, depending on the mood and style you want to achieve.
Q2: How can I find interesting locations for portrait photos in a city?
Exploring the city and its diverse neighborhoods can lead you to unique locations for portrait photography. Look for vibrant street art, architectural elements, parks, or iconic landmarks that can serve as backdrops for your portraits. Don’t be afraid to venture off the beaten path and discover hidden gems that offer a distinct and captivating environment.
Q3: What camera equipment should I use for portrait photography in a city?
While professional camera equipment can yield excellent results, as a beginner, you can start with a basic DSLR or mirrorless camera with a versatile lens, such as a 50mm or 85mm prime lens, which is ideal for portraits. It’s important to focus on mastering composition, lighting, and posing techniques rather than solely relying on expensive gear.
Q4: How can I make my portrait subjects feel comfortable in a city setting?
Creating a comfortable and relaxed environment for your portrait subjects is crucial to capturing authentic and engaging photos. Engage in conversation, provide clear directions and encouragement, and establish a connection with your subjects. By making them feel at ease, you can capture genuine expressions and emotions that truly reflect their personality in the urban backdrop.
Q5: What are some creative posing ideas for portrait photography in a city?
In a city setting, you can experiment with a variety of poses to create visually interesting and dynamic portraits. Encourage your subjects to interact with the environment by leaning against a wall, sitting on a staircase, or walking along a busy street. Incorporate leading lines or architectural elements to guide the viewer’s eye and add depth to your compositions. Allow your subjects to be natural and express themselves while giving them gentle guidance to achieve a desired look or mood.
Remember, while these Q&As provide guidance, the most important aspect of portrait photography is to let your creativity shine and to capture the unique essence of your subjects in the urban landscape.